Artwork Guidelines
A guide to preparing perfect print-ready artwork.
It is important to follow these steps when preparing your artwork to avoid any disappointment with the final product. We always do our best to make sure that the end product is of high quality but a lot of the result depends on the quality of the artwork supplied.
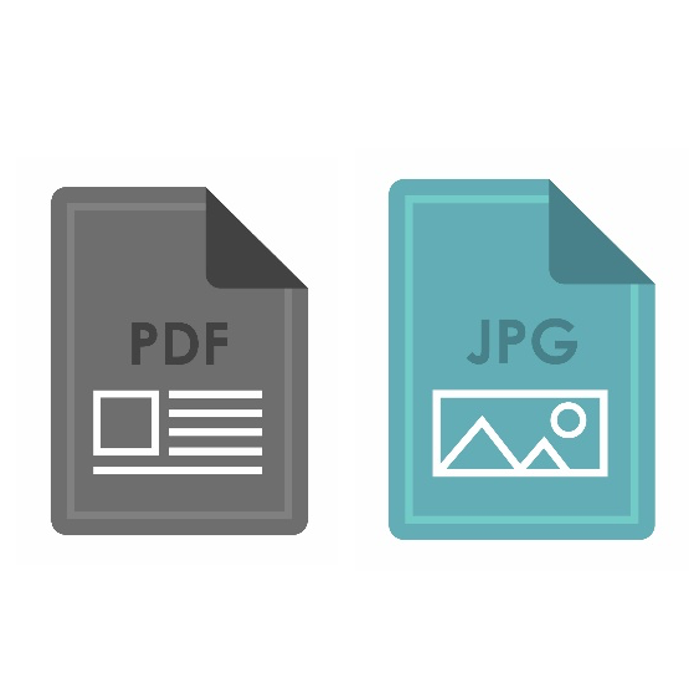
File Format
If your artwork has been created in a design software, you will be able to export your design to PDF and preserve the quality of the design for print. Please pay special attention to the export settings for best results.
If your artwork has been created in word, there is often a slight loss in picture quality when exporting to PDF.
Resolution & Text
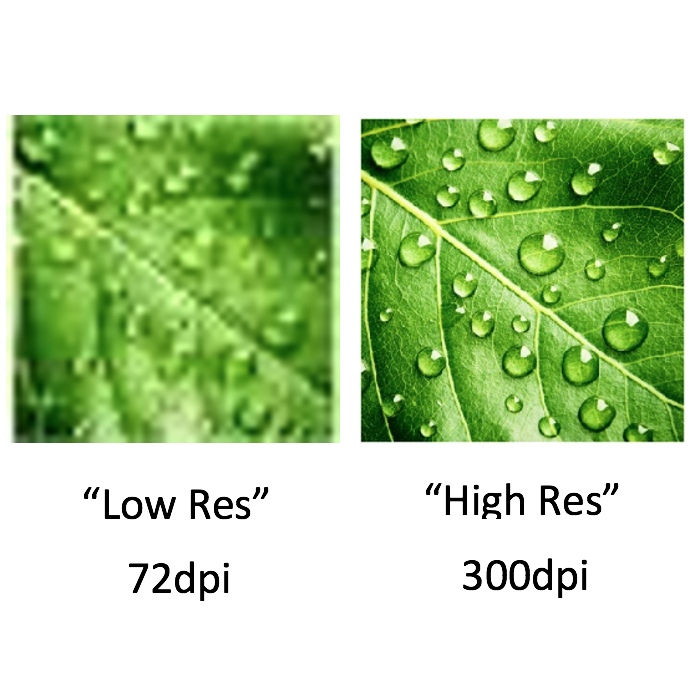
Resolution:
All images should be supplied at the standard 300dpi or higher for printing and should be at 100% size in your final print ready version (For example: If your labels are 30mm x 30mm, please make sure your artwork is this size too).
Text:
Small text can be hard to read. We recommend sticking to a minimum font size of 5 points and using easy to read fonts and 100% black when using smaller text.
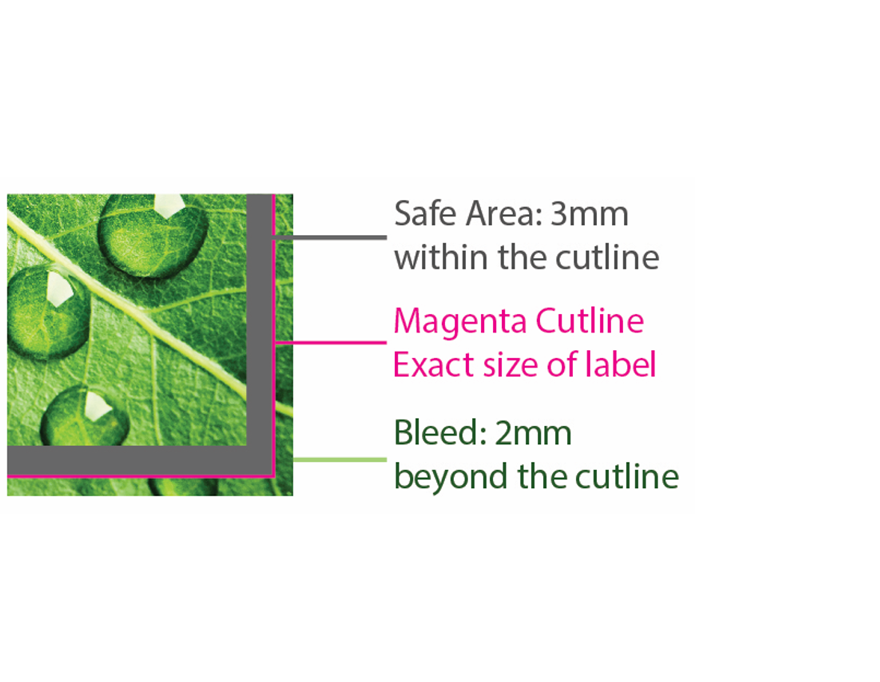
Safe Area, Bleed and Cutline
Safe Area:
No text or images should be placed within the safe area. The safe area is the area 3mm inside the edge up to theEdge of the label as pictured in the diagram.
Bleed:
Your image should extend a minimum of 2mm beyond the cutline to prevent white borders in the final product.
Cutline:
The cut line must be the final printed size of your label. We use specific cutlines to print our labels and we ask that you use this when creating your artwork where possible.
• Colour: 100% Magenta
• Spot Colour Name: CutContour. (Must be spelt the same with capital letters where shown)
• Stroke / Line Weight: 0.26pt (hairline)

Colour Profile – RGB or CMYK?
The RGB colour profile is best for images displayed on screens.
The CMYK colour profile is best for images that will be printed.
Please make sure that you convert your artwork from RGB to
CMYK for the best print result.